Designing a Vintage Billboard Sign Event Flyer: A Complete Guide
Event flyers have long been a staple of communication in both local and global communities. Whether you're organizing a music festival, a vintage car show, or a retro-themed party, a well-designed flyer can make all the difference. In this article, we’ll explore how to create a Vintage Billboard Sign Event Flyer using professional design tools like Photoshop (CS 5), with specific focus on file specifications, layout organization, and practical tips for effective print production.
What Is a Vintage Billboard Sign Event Flyer?
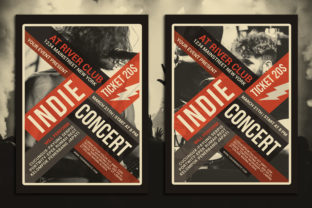
A Vintage Billboard Sign Event Flyer is a visual representation of an event that incorporates classic design elements reminiscent of old advertising signs. These designs often feature bold typography, retro color schemes, and nostalgic imagery that evoke a sense of timelessness. The term "billboard sign" refers to the large, eye-catching format typically used for outdoor advertising, which has been adapted into the compact yet impactful format of a flyer.
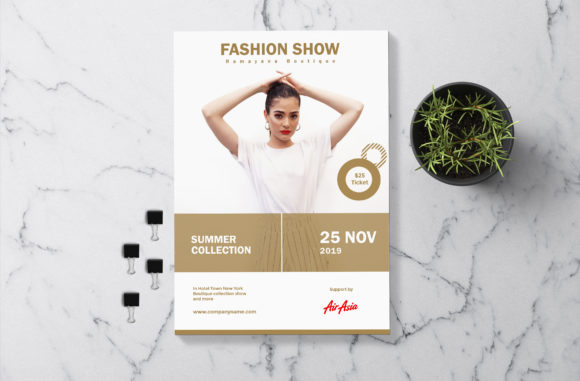
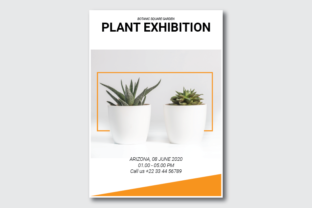
This type of flyer is particularly popular for events that aim to celebrate nostalgia, such as retro fashion shows, vintage car exhibitions, or themed parties that pay homage to past decades. It serves as both a promotional tool and a piece of art, drawing attention through its unique aesthetic and clear message.
Why Use a Vintage Style?
- Catchy Visuals: Vintage styles are inherently eye-catching, making them ideal for grabbing attention in a crowded space.
- Timeless Appeal: The retro look resonates with people across generations, especially those who grew up during the era being represented.
- Brand Identity: For businesses or organizations looking to evoke a sense of history or heritage, a vintage design can reinforce brand identity.
- Emotional Connection: Nostalgic visuals can create an emotional bond between the event and its audience, increasing engagement and attendance.
Creating Your Vintage Billboard Sign Event Flyer: Key Specifications
When designing your flyer, it's crucial to follow industry-standard specifications to ensure high-quality print output. Here’s what you need to know:
File Format and Software
The recommended software for creating this flyer is Adobe Photoshop CS 5, which offers robust tools for graphic design and image editing. While newer versions of Photoshop provide more advanced features, CS 5 remains a reliable choice for many designers due to its stability and compatibility with older workflows.
Dimensions and Bleeds
Your flyer should be created with the following dimensions: 8.27 x 11.69 inches. This size is standard for most print services and ensures that your design will fit perfectly on standard paper sizes without any scaling issues.
In addition to the main dimensions, it's important to include bleeds around the edges of your design. Bleeds allow for slight trimming during the printing process and prevent white borders from appearing on the final product. Typically, bleeds should extend 0.125 inches beyond the trim size on all sides.
Resolution and Color Mode
To ensure your flyer prints clearly and sharply, the resolution should be set to 300 dpi (dots per inch). This is the standard for professional print work and guarantees that your images and text will appear crisp and detailed.
Always use CMYK color mode when working on print projects. Unlike RGB, which is used for digital displays, CMYK is designed for ink-based printing and provides accurate color reproduction on paper.
Editable Fonts and Text
One of the most important aspects of a well-designed flyer is the use of editable fonts. All text should be in Font Free formats, meaning they are not embedded or linked to proprietary font files. This allows for easy modification and ensures that your design will render correctly across different systems and printers.
It's also essential to keep your text readable and legible. Avoid using overly decorative or script fonts unless they are specifically suited to the event's theme. Consider using a combination of bold and regular fonts to create visual hierarchy and guide the reader’s eye through the design.
Organizing Layers for Easy Editing
Proper layer organization is key to maintaining a clean and efficient workflow in Photoshop. Each element of your design—such as background images, text layers, and graphical elements—should be placed on separate layers. This makes it easier to edit individual components without affecting the rest of the design.
Additionally, consider grouping related elements together. For example, place all text elements on a single group layer, and all background graphics on another. This not only helps with organization but also improves performance, especially when working with large files.
Color Customization Made Easy
A great advantage of a well-structured design is the ability to easily change colors. If your flyer uses a specific color palette, you can create a color swatch or style guide that outlines the primary and secondary colors used in the design. This makes it simple to adjust the color scheme if needed, whether for branding purposes or to match a new event theme.
You can also use smart objects for elements that require frequent color changes, such as logos or icons. Smart objects allow you to apply filters and effects non-destructively, ensuring that your design remains flexible and adaptable.
Where to Find Font Information
If you’re ever unsure about the fonts used in your design, it’s always a good idea to include a readme file with your project. This file should list all the fonts used, along with their sources and licenses. This is especially important if you're sharing your design with others or using it for commercial purposes.
Many free fonts can be found on reputable websites such as DAFont or Google Fonts. Always make sure to check the licensing terms before using any font in your design.
Putting It All Together: A Step-by-Step Approach
- Plan Your Content: Start by outlining the key information you want to include—event name, date, time, location, and any special details.
- Choose a Vintage Theme: Select a color palette, fonts, and imagery that reflect the vintage aesthetic you're aiming for.
- Create the Layout: Use Photoshop to build your design, ensuring that all elements are properly aligned and spaced.
- Add Text and Graphics: Insert your event details, and add any relevant graphics or illustrations that support your theme.
- Set Up Bleeds and Trim: Adjust your canvas size to include bleeds and set the trim area accordingly.
- Export for Print: Save your file in a suitable format (e.g., PDF or EPS) and double-check all specifications before sending it to print.
Conclusion: The Power of Vintage Design in Modern Communication
In today’s fast-paced digital world, a well-designed Vintage Billboard Sign Event Flyer can stand out among the noise. By combining retro aesthetics with modern design principles, you can create a flyer that is both visually appealing and highly functional.
Whether you're a beginner or an experienced designer, following these specifications and best practices will help you produce a flyer that effectively communicates your event’s message while leaving a lasting impression. With the right tools, creativity, and attention to detail, your next event can be remembered for years to come.